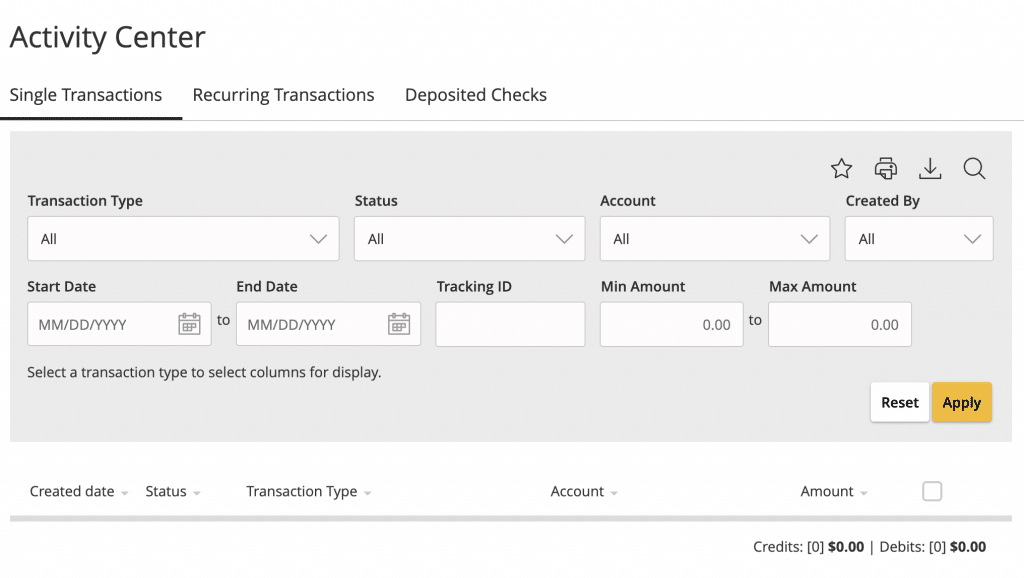
Creating Custom Views in the Activity Center
You can select up to six fields to control which data appears in the Activity Center for each transaction type. For example, a user responsible for reviewing wire transactions can select Message to Beneficiary and Beneficiary Bank as two columns of data that will appear, and then save the custom view as a Favorite for later use.
The Activity Center – Custom View

To create a custom view in the Activity Center
1. In the navigation menu, click or tap Transactions > Activity Center.
2. Click or tap Filters on the Single Transaction tab.
3. In the filter fields that appear, select a Transaction Type and, optionally, a Status.Note: After six columns are selected, you must clear a selected check box before selecting a new check box.
4. When Column names with check boxes appear, select up to six columns that you want to view.
5. Click or tap Apply Filters.
6. (Optional) Click or tap Favorites to save the custom view for later use.


